Voice Enhancer vs Noise Remover: Which One Should You Use First?
A practical guide to choosing between voice enhancement and audio noise removal for podcasts, calls, interviews, and voice notes.
Browser Voice Enhancement
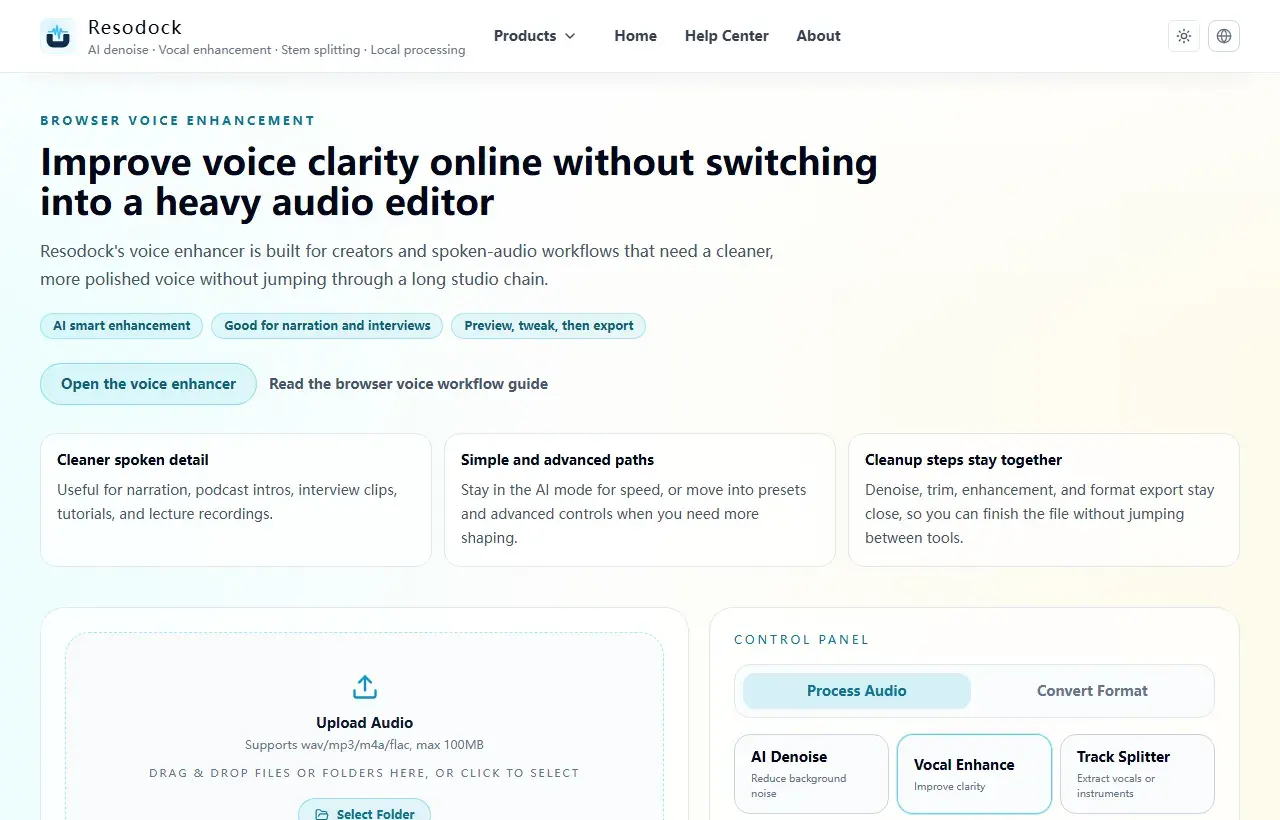
Improve voice clarity online without switching into a heavy audio editor
Enhance voice audio online without uploading files. Improve spoken clarity for podcasts, YouTube narration, interviews, and lecture recordings directly in your browser.
Start by naming the problem
Before choosing a tool, listen to the recording without changing anything. Is the main problem a fan, air conditioner, traffic, keyboard clicks, echo, low volume, or a muffled voice?
If the background is the distraction, use the noise remover. If the words are hard to understand because the voice is flat, distant, or uneven, use the voice enhancer.
Next step
Use voice enhancement for clearer speech
When the voice sounds muffled, distant, or uneven, start with voice enhancement. It improves intelligibility; it is not meant to fake a studio recording.
- 1Open the voice enhancer.
- 2Upload or drag in your recording.
- 3Run a short preview first.
- 4If the words become easier to understand, download the result or process the full file.
When to use noise remover first
Use denoise first when the recording has steady background sound. Cleaning the base prevents enhancement from making the noise louder or sharper.
Do not push denoise until the background disappears completely. Stop when the noise is no longer distracting and the voice still has body.
When to use voice enhancer first
Use voice enhancement first when the room is fairly quiet but speech sounds dull, far away, or inconsistent. Enhancement can add clarity and make words easier to follow.
This is common in phone videos, podcast tests, interview clips, course recordings, and quiet voice notes recorded with a small microphone.
For mixed problems, test two short chains
If both noise and dull speech are present, compare two 15 second chains: denoise then enhance, and enhancement alone. Use the version where the voice stays more natural.
A good result is not the most processed one. It is the file where the listener stops noticing the repair and starts hearing the speaker.
Summary
Use noise remover first for steady background sound. Use voice enhancer first for clean but dull speech. Combine them only when the recording needs both.
The safest workflow is short sample, A/B comparison, then full export.
Related Articles
Voice Enhancement
AI Voice Enhancer Online: Make Speech Clearer in Your Browser
Start with a short voice sample, enhance clarity, compare the result, then export only if the speech still sounds natural.
Voice Enhancement
Podcast Audio Repair Online: Clean Noisy Speech Before You Publish
Repair the worst 30 seconds first, then apply the same restrained chain to the full podcast or interview file.
Voice Enhancement
AI Audio Enhancer for Video: A Practical Workflow for Clearer Speech
Video audio enhancement works better as a workflow: identify the problem, extract audio, clean noise, lightly enhance speech, then transcribe or subtitle.
FAQ
Should I always denoise before voice enhancement?
No. Denoise first when background noise is obvious. If the recording is quiet but dull, start with voice enhancement.
Can enhancement make noise louder?
It can. Enhancement may bring up whatever is in the file, including noise, which is why noisy files usually need denoise first.
How long should the test sample be?
15 to 30 seconds is enough for most checks. Include the worst noisy or muffled part, not only the cleanest sentence.