AI Audio Enhancer for Video: A Practical Workflow for Clearer Speech
When video speech is muffled, noisy, or hard to transcribe, use a simple workflow: extract audio, denoise if needed, enhance the voice, then create text or subtitles.
Browser Voice Enhancement
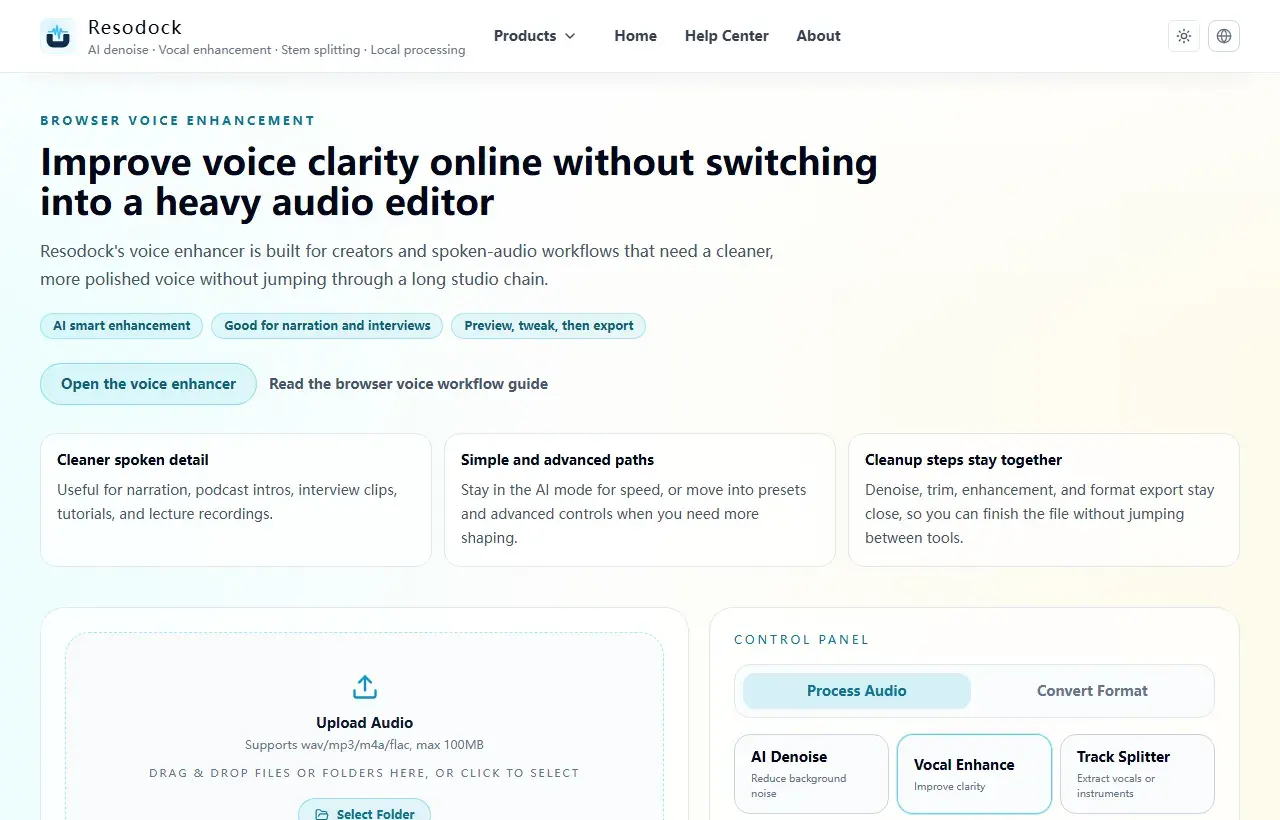
Improve voice clarity online without switching into a heavy audio editor
Enhance voice audio online without uploading files. Improve spoken clarity for podcasts, YouTube narration, interviews, and lecture recordings directly in your browser.
What an AI audio enhancer for video can fix
People searching for an AI audio enhancer for video usually want clearer speech, not a full mixing session. Common problems include muffled narration, quiet screen recordings, meeting echo, air conditioning, keyboard noise, or background music covering speech.
If you also need a transcript or subtitles, audio clarity matters even more. Clean the voice first, then use video to text or MP4 to SRT for the text stage.
Next step
Use voice enhancement for clearer speech
When the voice sounds muffled, distant, or uneven, start with voice enhancement. It improves intelligibility; it is not meant to fake a studio recording.
- 1Open the voice enhancer.
- 2Upload or drag in your recording.
- 3Run a short preview first.
- 4If the words become easier to understand, download the result or process the full file.
Extract audio before enhancing it
A reliable workflow starts with extract audio from video. Export the audio from an MP4, MOV, or WebM file so you can work on the sound without moving the whole video around.
If the noise is obvious, test 15 to 30 seconds in the noise remover first. After the noise drops, use the voice enhancer lightly. If you enhance before reducing noise, you may make the noise louder too.
When enhancement has limits
Severe clipping, wind blasts, overlapping speakers, and very distant microphones are hard cases. An AI audio enhancer can make speech easier to follow, but it cannot turn damaged audio into a studio recording.
Listen to the worst 15 to 30 seconds first. Stop when the words are easier to understand and the voice still sounds natural. Pushing harder often creates dry or metallic artifacts.
Use the cleaned audio for text or subtitles
After cleanup, send the result to video to text for a transcript or MP4 to SRT for a subtitle draft. Automatic transcription is still a draft, but clearer speech usually helps recognition.
Before publishing, check names, numbers, dates, technical terms, subtitle timing, and line breaks. Better audio reduces cleanup work; it does not remove the need for review.
Summary
AI audio enhancer for video works best as a workflow: extract the audio, identify the real problem, denoise when needed, lightly enhance speech, then transcribe or subtitle.
Test each step on a short sample. When the voice is clearer and still natural, process the full video audio.
Related Articles
Voice Enhancement
AI Voice Enhancer Online: Make Speech Clearer in Your Browser
Start with a short voice sample, enhance clarity, compare the result, then export only if the speech still sounds natural.
Voice Enhancement
Voice Enhancer vs Noise Remover: Which One Should You Use First?
Choose denoise for steady background sound, voice enhancement for dull or distant speech, and a short A/B test when the problem is mixed.
Voice Enhancement
Podcast Audio Repair Online: Clean Noisy Speech Before You Publish
Repair the worst 30 seconds first, then apply the same restrained chain to the full podcast or interview file.
FAQ
Can I enhance the video file directly?
The current workflow works best when you extract the audio first, then process and compare the sound.
Should I denoise before voice enhancement?
If there is obvious background noise, yes. Denoise first, then add light voice enhancement so you do not amplify the noise.
Will enhanced audio guarantee better subtitles?
No guarantee, but clearer and steadier speech usually helps recognition. Automatic subtitles still need review.