How To Remove Background Noise From Audio Online Without Uploading Files
A local-first guide to cleaning podcast, meeting, and voice-over recordings with AI denoise and fast fallback modes.
Browser Noise Removal
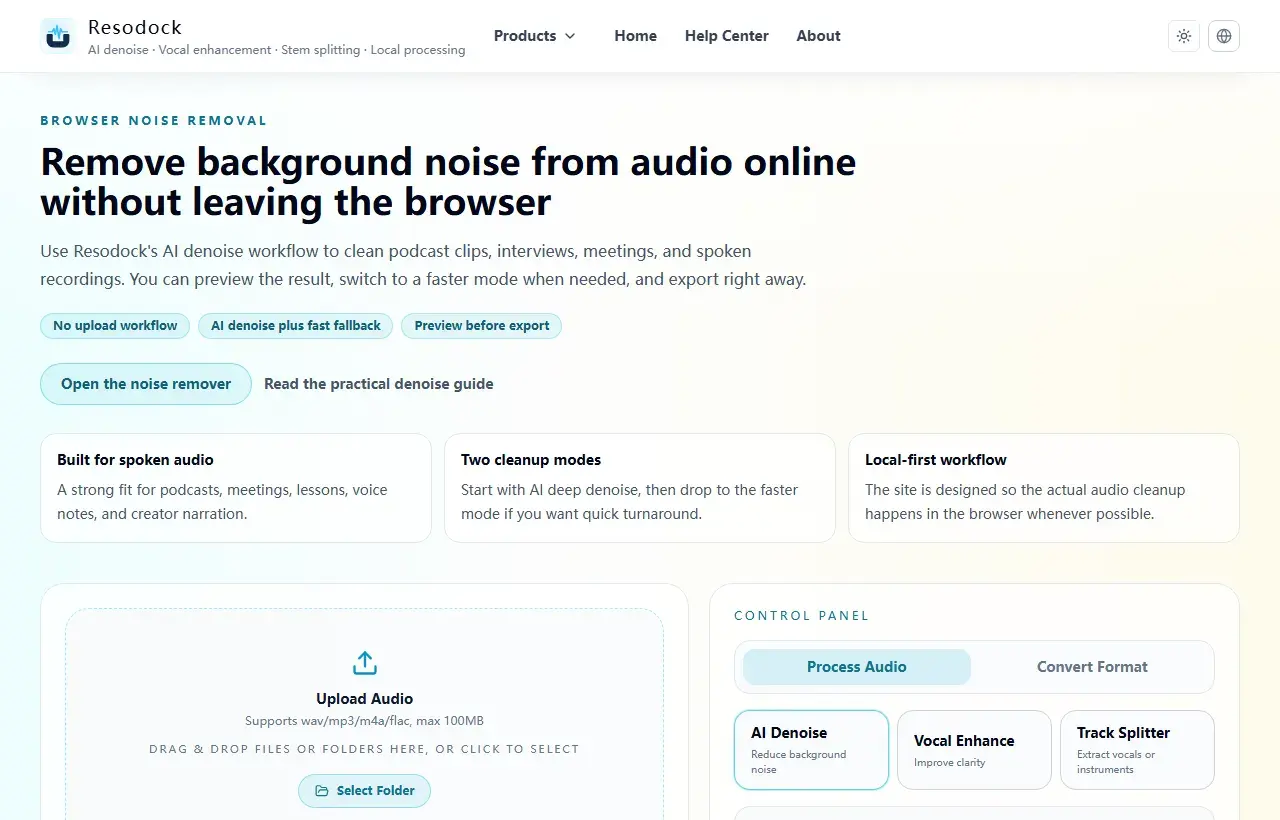
Remove background noise from audio online without leaving the browser
Remove background noise from audio online without uploading files. Clean podcasts, interviews, meetings, and voice recordings directly in your browser.
What to check before denoising
Most recording issues are straightforward. The most common ones are air-conditioner hum, fan noise, and light electrical room noise. First decide whether the noise is continuous or occasional, then choose the processing strength.
If you are cleaning meetings, podcasts, or lecture recordings, test a short segment first to make sure the voice is not over-processed before applying to the full file.
Try it now
Run a short pass in the noise remover
If this article matches your recording, process 15 to 30 seconds first. Listen to the before-and-after result, then decide whether to clean the full file.
- 1Open the noise remover and go to the upload area.
- 2Click the upload box or drag the recording into the page.
- 3Keep AI denoise selected, then start processing.
- 4Compare before and after. If the voice still sounds natural and the noise is lower, download the result.
How to choose AI denoise vs fast mode
For steady room noise such as fans, air conditioners, or laptop hum, the AI denoise mode should be the primary recommendation. It usually preserves speech detail better than a simple reduction pass.
If you only need a quick cleanup or do not want to wait for model preparation, start with the fast mode. If the result is not clean enough, switch back to AI denoise.
What to compare before and after processing
Before processing, listen to the noisiest 10 to 20 seconds. After processing, compare voice clarity, harshness on sibilants, and whether background pumping appears.
If you still need better intelligibility, or you have many similar files, continue with voice enhancement or batch processing.
Summary
Before cleaning audio, identify the main problem: steady background noise, echo, wind, or distance from the microphone. Each one needs a different touch.
A short 15 to 30 second test is the safest start. If the voice still sounds natural, continue with the full file or add light voice enhancement only when needed.
Related Articles
Noise Removal
Remove Background Noise From Video Online: Extract Audio, Clean It, and Export
Video noise cleanup usually starts by pulling out the sound. Test 15 to 30 seconds first, make sure the voice still sounds natural, then process the full clip.
Noise Removal
How To Fix Echo And Reverb In Zoom Recordings
This guide is optimized for meeting speech: clearer voices without over-processing artifacts.
Noise Removal
How To Clean Up Interview Audio Quickly
When delivery time is tight, this workflow boosts clarity with minimal tuning overhead.
FAQ
Do I have to upload audio to denoise it online?
Not always. Browser-based tools like Resodock can process locally, so your audio does not have to be uploaded.
When should I choose AI denoise over the fast mode?
Use AI denoise when voice quality matters most. Use the fast mode when you want a lighter cleanup or the quickest turnaround.